
So in the last part I took you all through how I bought a new sofa and then ended up pretty much re-fitting a large part of my living room. Because that is how I roll!
I have ideas which seem simple and should only take a short amount of time and then get creative and before I know it, have a project that should have been measured in days that then takes months!
I finished part one having taken you through running a power feed for some cool lighting and fitting some Walnut panelling. I also said that in this part I would cover off the Oak Capping that caused me so many bloody problems it was untrue.
However, as I come to write this part, I realise that I didn’t cover:
- The framing that I made for the stairs which I fitted the MDF boxing in on.
- The Cheshire Mouldings.
Now, I don’t plan to cover these off in any great detail here because as I alluded to in part 1 these weren’t the hardest part of the project and if you are so inclined many of the techniques that I used are covered on my Instagram channel.
But with that being said – I like to be through in the details of my project – so here’s a summary before I get into the bit that royally pissed me off!
Stair Framing and MDF Panelling
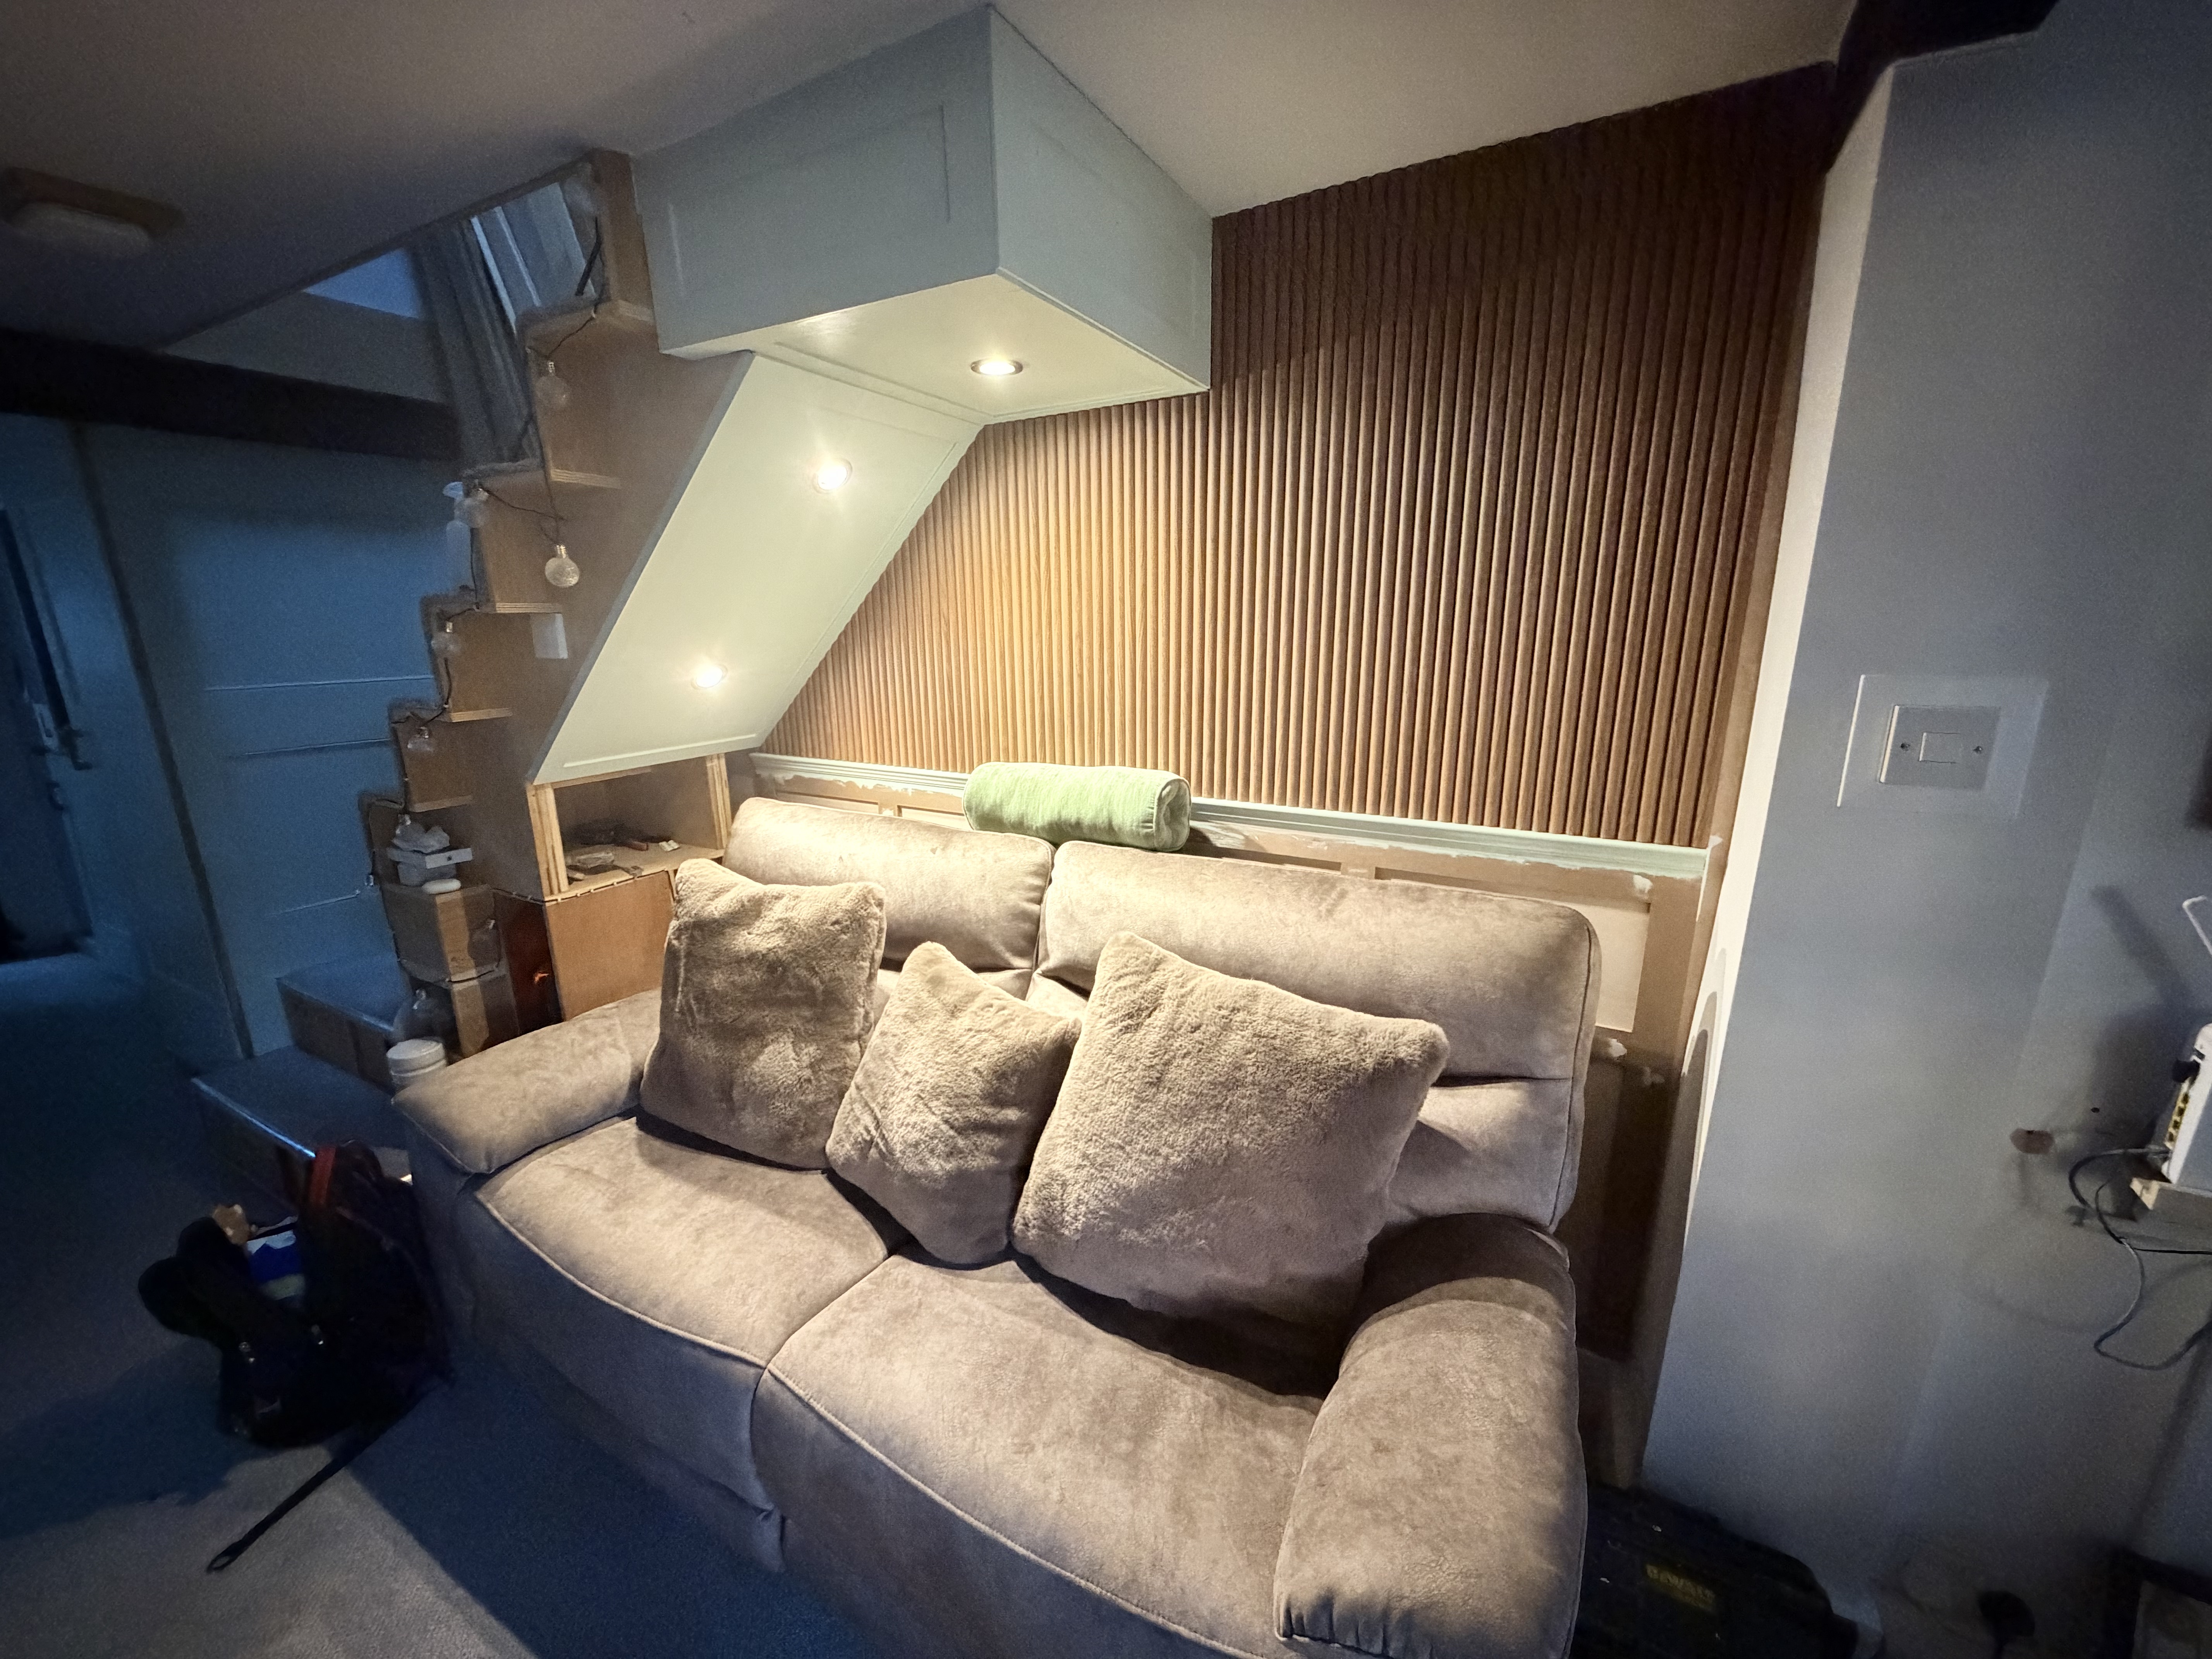
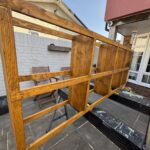
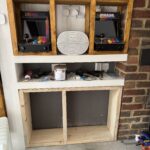
As I mentioned in part 1 – a lot (all) of the stair carcass was left exposed and I wanted to panel it over and install lighting – but in order to do that I needed to extend out the top of the stairs with a CLS stud frame. This would serve two purposes:
- Cover over the raw stair frame carcass.
- Provide a solid installation base for my new lighting.


I then went on to add shakers to each panel element, cut the holes for the lighting, sand, prime and then paint.

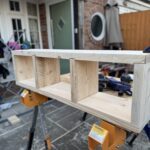
The above is the maintenance panel which sits on the front of the CLS frame – it started life as an off-cut of MDF from my built in cupboards project.
Originally it was just a panel on the CLS frame – but after running the electrical I realised that I might at some point in the future need access to the wires and Kinetic receiver so I converted it from a static fixed panel to being removable. This I did by adding a few Button Fixes on the stud frame. I then added a some shakers and a handle.

This is the now removable panel in situ.

Next up was the one of my least favourite job – priming the area (and painting in general – it sucks balls). On pure MDF (e.g. that is the only material that I am intending to ultimately paint) I have found that Dulux Trade MDF Primer and undercoat is pretty amazing. It’s bloody expensive – but with two coats on MDF and a light sand in between it brings the top coat up very smooth and when combined with something like a Satinwood subtly shiny!
The key to getting cut MDF (e.g. where you have had to chop a larger panel to size) to a nice finish is sanding the living shit out of it before you prime it and then lightly sand again between coats.
I did a quick 90 second overview on the process on my Instagram Reels here.

The above is the area with the final top coats of paint applied. For the paint I chose a Dulux Quick dry Satin Wood which I applied using Two Fussy Blokes 4 inch Microfibre rollers (well worth it and the finish is amazing after sanding). You might see reviews of these which state that they “dissolve” or shed fibres – they don’t if you’re using a water or shellac based paint. I suspect if you are using anything that is solvent based they will – so, err don’t do that (to quote a very good Instagram creator who I am a fan of).
The only down side that I found to them was that you get probably about 15 uses before the finish begins to suffer – even after a good clean between paints, but – for uses 1 – 14 they are immaculate.
Cheshire Mouldings
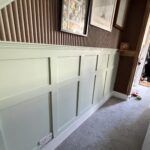
After the boxing in, but before the Walnut panelling I decided that I was going to put in some Cheshire Mouldings which sat on top of the skirting and ran half way to the top of the wall.
Now, I could have made component parts of these mouldings from scratch – but by this point I was pretty much all moulded out. So I bought a kit from Wickes which only needed cutting down slightly (the supplied size is 2.4m (w) x 1.04m (h)) – rather than go through step by step in pictures I think just the outcome will be enough – however I needed to chop saw down the widths of the top and bottom long ends as the width of my sofa area was around 2m (so needed to take 0.4m off) and then adjust the width shakers accordingly.

I fixed the components to the wall using No More Nails and Brad Nails making sure that each bit was square and measured accurately.

This is the font view in natural lighting once primed and painted.

Vanity shot from the right hand side of the mouldings – I love the colour and the finish.

And finally a full frontal picture of the finished area with the alcove lighting turned on. I think that this really looks beautiful and will be so cosy during the winter months.
Edge Capping / Trimming – the article’s main feature!
So, when I started this ramble in part 1 there was (is) a part of the title “the bastard Oak capping“.
The right hand wall of the panelling was so out of plumb it was ridiculous. From the top of the wall down to the ground level the fall was out by about 3 inches (7.2 cm)!
To make matters worse, from the back wall to the edge of the right hand wall it was out by about 2 inches on the fall.
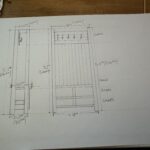
The diagram below shows what this looked like in practical terms – basically between the fall on the side and the front of the wall – the panelling was wonky and was well out of kilter on the front.

I wasn’t going to re-plaster the wall (although, after the problems that I the encountered I wish that I had!).
Before I get into what I did – I need to rant!
“ Whoever plastered this wall I hope to all that is sacred and holy that you never plastered anything again! I hope that you never even considered putting a plaster on a cut (you’d probably aim for the finger and get it on the forehead).
Did you not possess a spirit level, laser level, plumb line or even basic eyesight?
You are undoubtedly the person who plastered most of the Shire and there isn’t a single thing that is either plumb or level.
Rant over – so in order to get around this I decided that I was going to build a simple compensating frame to bring it as close as I could into plumb.

The idea of the frame was twofold:
- At the very top of the wall would it would get the remaining panelling over the lip of the supporting beam for the upstairs front bedroom so it would run from ceiling to skirting.
- At the very bottom it would bridge the 3 inch deviation and make the panelling plumb to the wall.
Of course whilst this was an amazingly brilliant idea (actually it sucked, but it was the best one that I had) – it did create another problem.
Between the panelling and the wall there was now a 3 inch gap (funny that) which I needed to cover.
I toyed with the idea of continuing the panelling along the right hand wall to the light switch – but I discounted it as by this point I was on the verge of making things a lot worse and in danger of probably panelling the whole house!
So I decided to cap and trim the gap using some Oak.
By Zeus ‘s beard this idea was hard!
What I learned with this approach was that it wasn’t creating a fix – but building an optical illusion. The fall of the wall was still out so all I was doing was creating some edging and capping which covered joins and when in position and fixed to the wall made the obvious “kink” less noticeable.


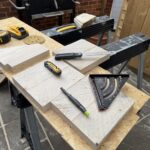
The pictures of this process don’t do show how much of a pain in the ass this was – it took 7 days to get the cuts just right on the caps and the edging. Each time that I had to start again both wasted Oak and meant the process of sanding and applying Osmo Oil had to start all over again.
What did I learn from all of this?
- Probably this biggest thing would be to check the integrity of all walls that I was going to be working on. I knew the Shire was wonky at the best of times – if I had checked all the way along with a Spirit level I might have had a better plan.
- Ultimately, the best fix would have been to look at re-plastering. To be fair to me that would have been a much bigger job and would not have been limited to this area of the cottage – but, ultimately it would have been the better solution.
During your own projects you will encounter challenges and as I always say the better you get and the more confidence you build through learning – but never give up and take the time to think things through.
Even if you don’t totally get it right by the end of the project – there is always the chance to come around to fixing it later.